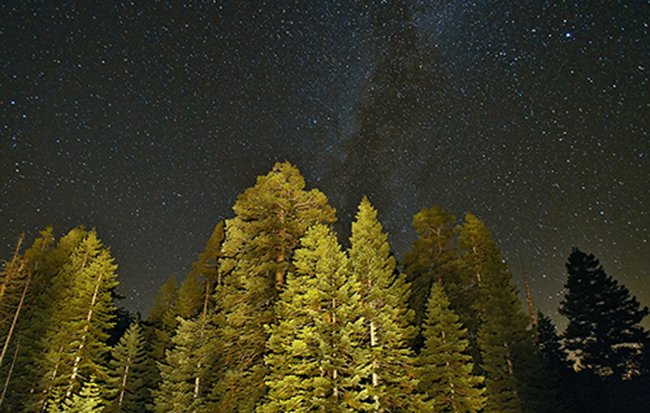
This is a genre we’re just starting to understand so don’t expect too much from our initial synopsis. Celestial photography can be a broad term for what is essentially a rather narrow undertaking, capturing images of star points, trails and the northern lights at night, usually with a well defined foreground object that can be “painted” with a flashlight. Objects as simple as a tree theoretically strengthen the composition by establishing a link between the terrestrial and celestial worlds. We'll leave this up to your creative juices.
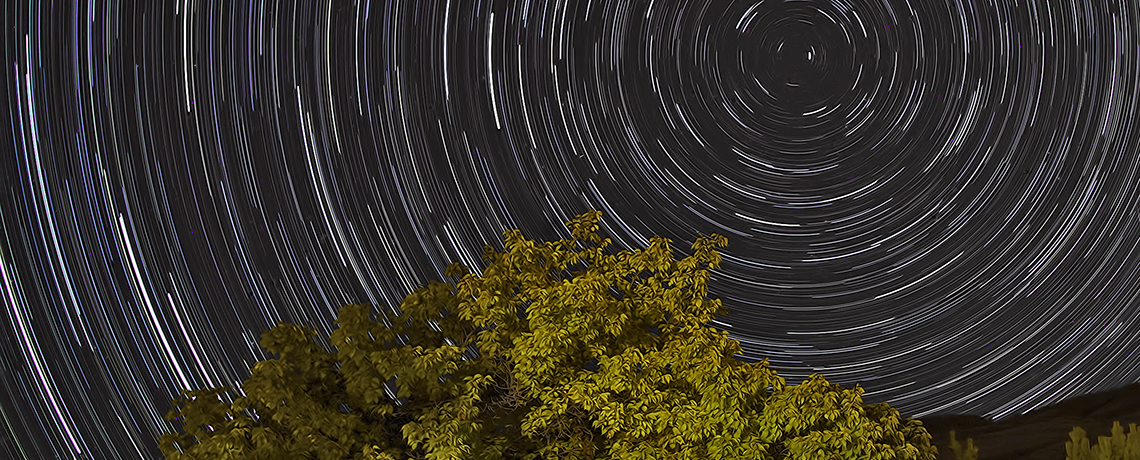
Star Points At Glacier Point, Yosemite National Park, California
You’ll need a clear night with visible stars at a location that you have hopefully scouted and determined how best to position the foreground object you have chosen. You’ll also need to take a number of test images to fine tune your settings. Star points are images captured with the aperture wide open (Canon Example – Manual Mode, F/2.8 to 4.5, 25 to 30 Second Shutter Speed, and 1600 to 3200 ISO). During the exposure, continually running a beam of light over the foreground object can produce stunning results (as you will see below, this will depend on the strength and time of the flashlight exposure as well as the type – halogen versus incandescent – and the distance from the lens to the foreground object). Experimentation is definitely the key to success. If you look closely at the above image you will see our exposure time was too long at 30 seconds as the points are beginning to develop into small trails.
Star trails can be captured using the same settings as above but clustered into multiple images taken with an external shutter release that has been locked for roughly an hour. The 120 or so images can then be merged using a program such as Image Stacker or StarStaX that plots movement of the individual star points into a circular or arcing trail depending on how you have positioned the viewfinder. This process will require batch processing the RAW files into a series of 16-Bit TIFF using Canon’s Digital Photo Professional software. We usually adjust one file to taste and create a recipe that can be attached to the remainder of the images and processed accordingly (pardon the culinary metaphor). Alternatively, a single exposure can be taken over an hour (Canon Example – Bulb Mode, F/2.8 to 4.5, and 100 to 400 ISO) to produce a similar result. Both processes require a completely charged battery and a spare if you plan to stay up a while.
Now the nuances! It’s best to wait until well after dark to avoid the haze or night pollution if the horizon is part of your image (controlling light at night is a must as ambient light caused by city lights or the glow of the setting sun or rising moon can be problematic). If you look closely at the above image you'll see light has crept into the lower area, most likely caused by individuals making there way by our position with flashlights. Moreover, you’ll need to find a location that has little or no air traffic (planes and satellites leave streaks that are almost impossible to remove). A tripod and cable release are essential as is a high power flashlight, something in the range of 5 to 10 million candle power (halogen produces a white light while an incandescent bulb tends to create a much warmer effect). If you want to create a circular trail you’ll have to position relative to the Big Dipper (Ursula Major) and look for the North Star (Polaris). It’s easy to find by following the pot handle to the right side of the upper lid and looking either up or down for the brightest star depending on area and time of year.
You’ll definitely need to experiment, especially with ISO and time devoted to painting the foreground (be aware that it’s a function of distance, 25 feet perhaps a quick flash and 200 feet more like 20 seconds). Image noise is also an issue at night. We prefer to handle this during post-processing and turn off the High ISO Noise Reduction and Long Exposure Noise Reduction during the respective point or trail sessions. We’ll assume here that focusing at night is nothing more than a matter of experience using the distance of the foreground object and the focal length to set the appropriate hyperfocal point on the lens. Charts can be helpful but if in doubt try the infinity position if the foreground object is 15 to 25 feet or more away to get what will be a decent final image.
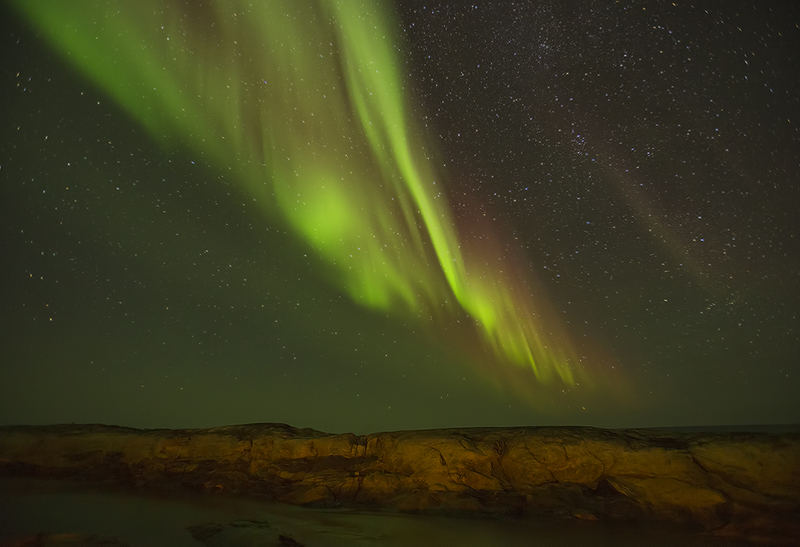
The aurora borealis can be a challenging phenomenon to photograph. We tried it on a trip to northern Quebec using a Canon EF 16-35 f/2.8 L lens on an EOS 5D Mark III full frame camera body. We enabled the mirror lock feature, set white balance to K at a temperature of 5000 and placed the drive to one shot on a two second timer before shutter release. We pre-focused the lens at 16mm before dark to ensure any foreground objects or silhouettes would be sharp and noted the focus point on the distance meter. Night photography is a matter of the amount of ambient light that is available, such as how early the event occurs, what moon light is present and whether there are reflections off snow or water. For the nights that the weather cooperated, we encountered mostly darkness with slow moving aurora formations that displayed varying degrees of light intensity. We started to experiment at f/2.8 in manual mode using an ISO of 1600 with a 15 second exposure. It’s an iterative process and no absolute settings can be given as there are too many variables that must be dealt with. Simply stated, in the absence of ambient light, a higher ISO and longer shutter speed will be required for a wide-open f-stop. By reviewing the histogram, we simply changed our ISO and shutter speed until we got what we were looking for. We also tried stopping down slightly as it seemed to create a better image. The aurora we experienced certainly wasn’t anything near the images we’d seen from the Brooks Range in Alaska or locations in the Yukon. Although we encountered dark and often cloudy conditions, it was great fun. On one evening, we used a campfire to light the cliffs next to the location we had chosen. The effect produced an opportunity to experiment and come away with an assortment of images that would allow for some creativity while post-processing.